Setting up our development environments
For this class we will be using Virtual Machines (VMs) that I have created to develop our software. The main VM we will be using is a Linux distribution called !Pop_os. This VM will have all the development tools pre-installed for you. The second VM is running Android so we can test the Android apps if you do not have an Android device.
Why use VMs? Well with remote learning we will all be on different types of computers. The installation of the development tools varies with each platform Mac, Window, Linux… Installing a VM that is prebuilt with the tools needed ensures we all start with at the same place.
The vm technology we will be using is VirtualBox by Oracle. Kind of fitting since we will be coding in Java a language also owned by Oracle.
Step 1: Download the VirtualBox installer for your operating system.
Step 2: Install VirtualBox following the onscreen instructions and open it. When done you should have a screen like the following: 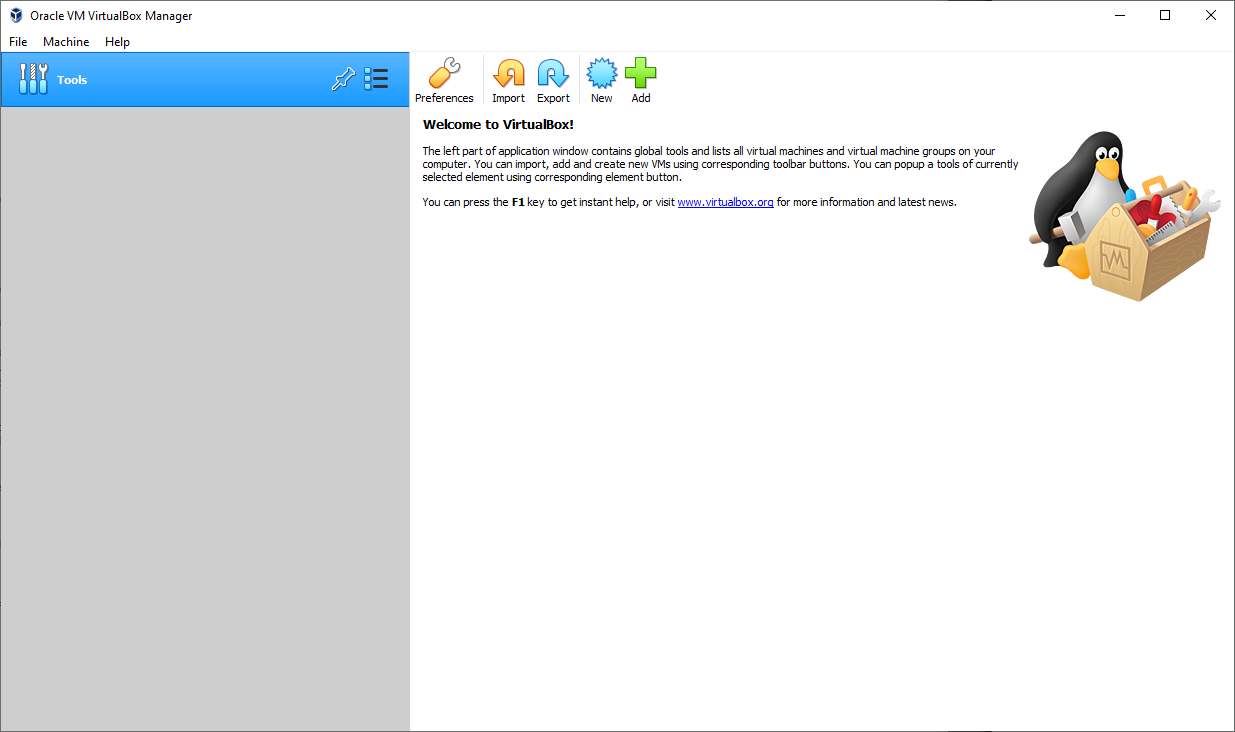
Step 3: Download the !Pop_os VM. This will take around 15 minutes depending on your internet speed.
Step 4: Once the VM is downloaded return to the VitrualBox application and click import.

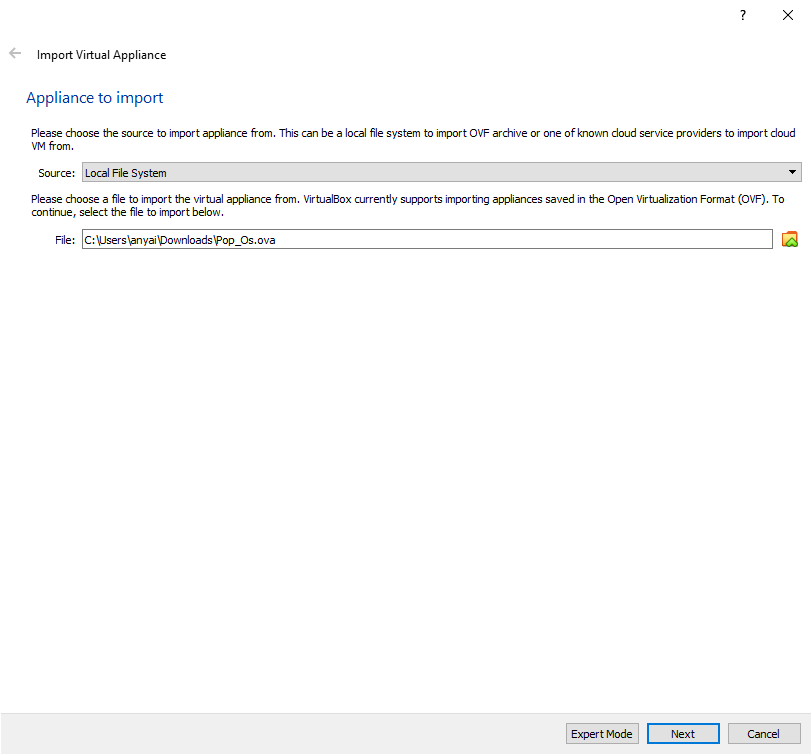
Step 5: Leave the source on “Local File System” and select the Pop_Os.ova file you just downloaded. Click Next.
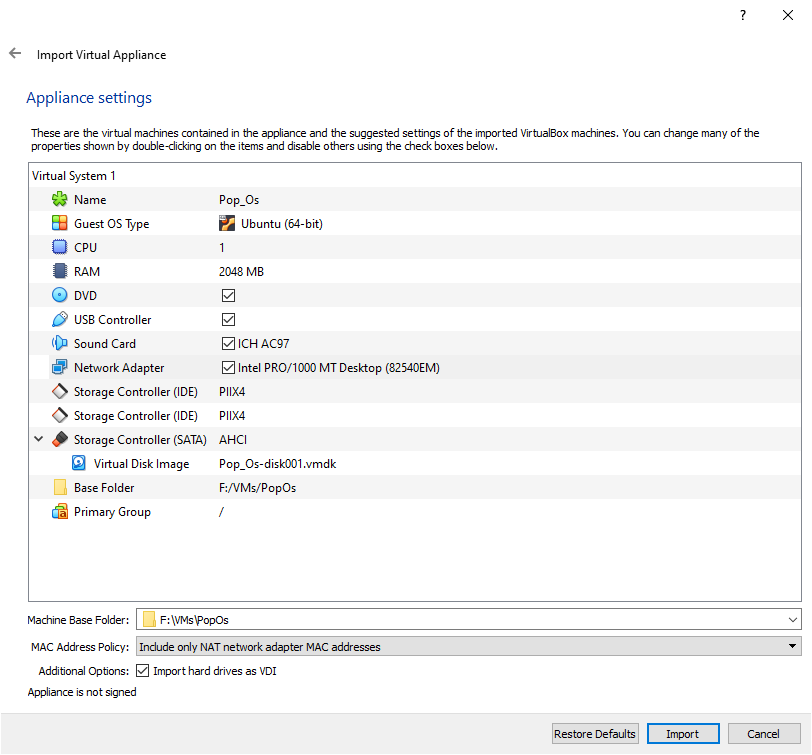
Step 6: Leave all the settings default except you might want to choose a different “Machine Base Folder” Click Import.
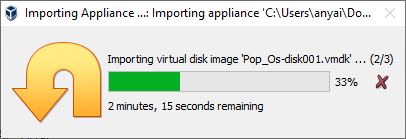
Step 7: Wait for the import to complete.
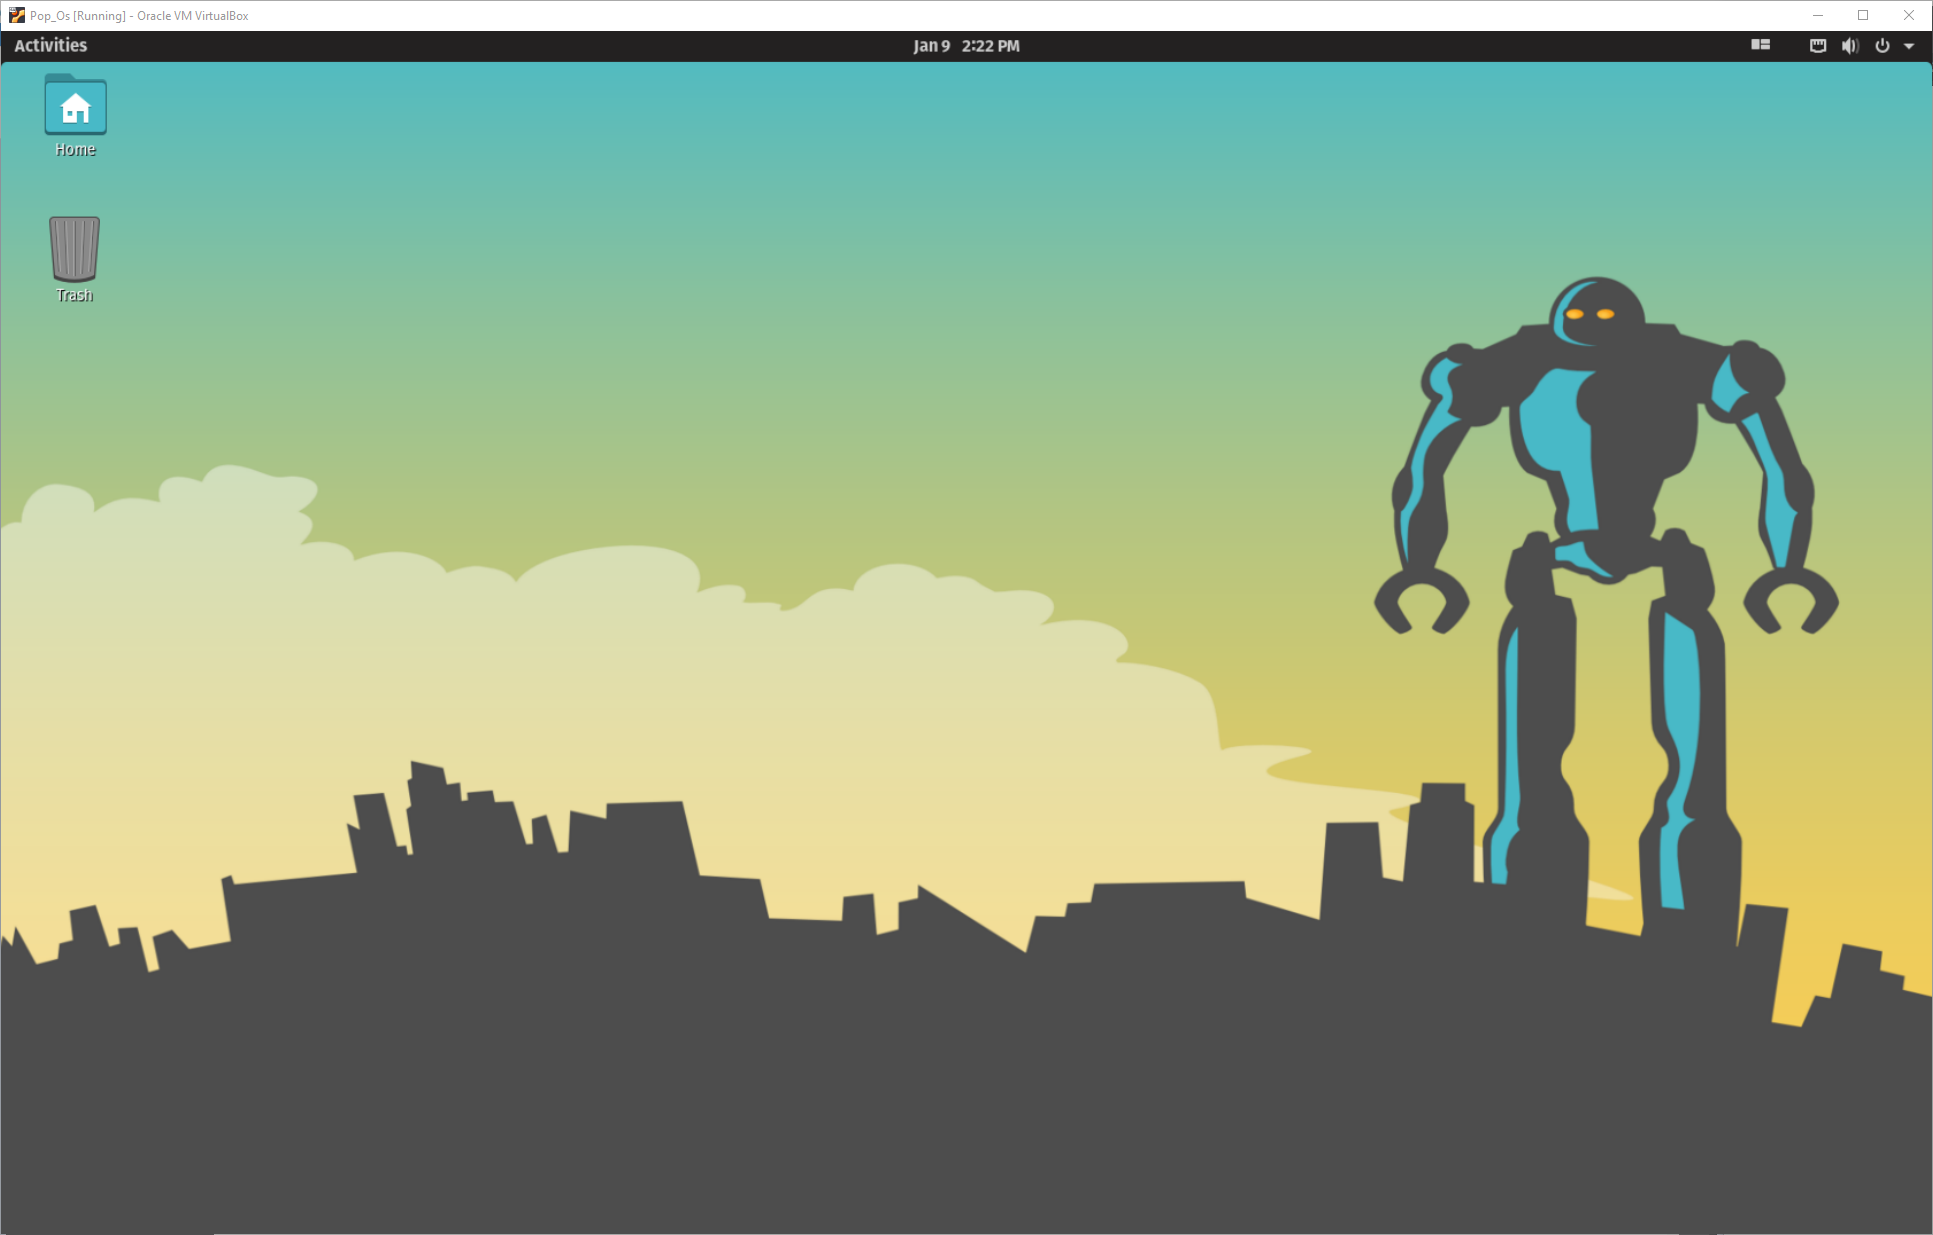
Step 8: Once the import is complete you will be back at the main VirtualBox screen. With Pop_os selected hit start and wait for the VM to boot.

Step 9: Once booted you will automatically be logged in to “student” (do not change this user name!) and the password is cmps3390.
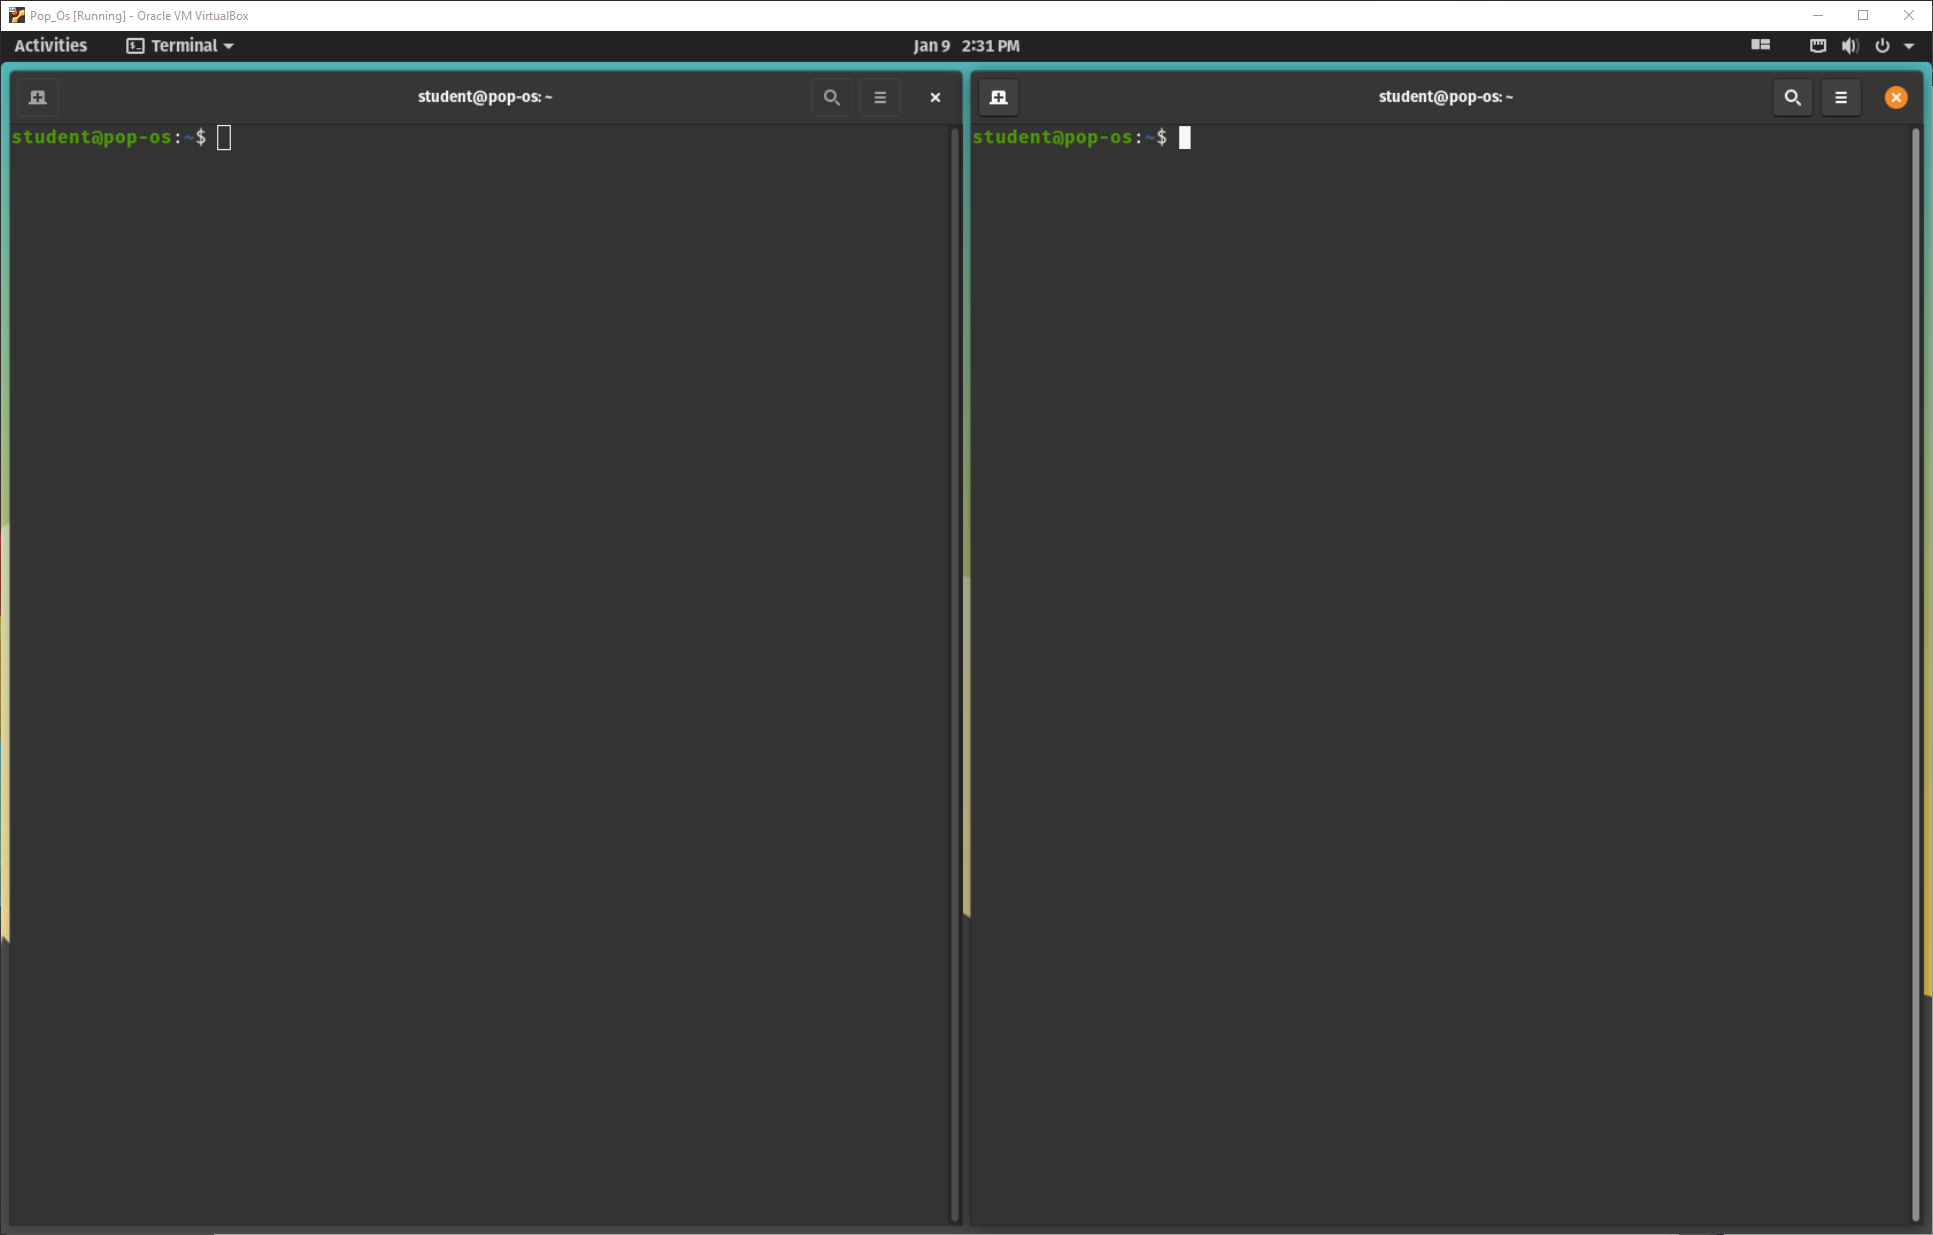
Step 10: !Pop_os is set to auto tile windows try it out by hitting the super_key + t to open two terminals (super_key is the windows key on windows and the apple key on mac…)
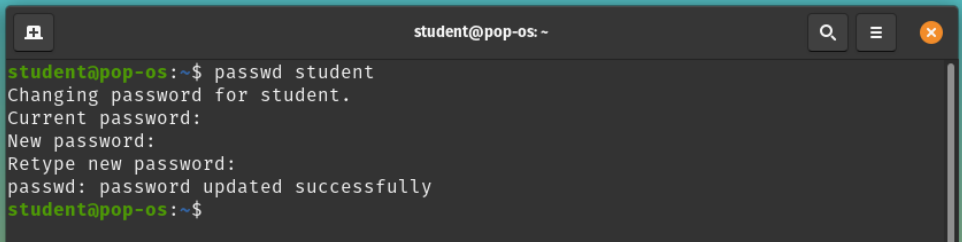
Step 11: (optional) While we have the terminals open lets change the default password. In the terminal type the following:
passwd student
follow the onscreen instructions entering in cmps3390 for the current password. Make your new password strong and something you will remember as I will not be able to reset your password if you forget it.
Once complete your should see something like the image below.
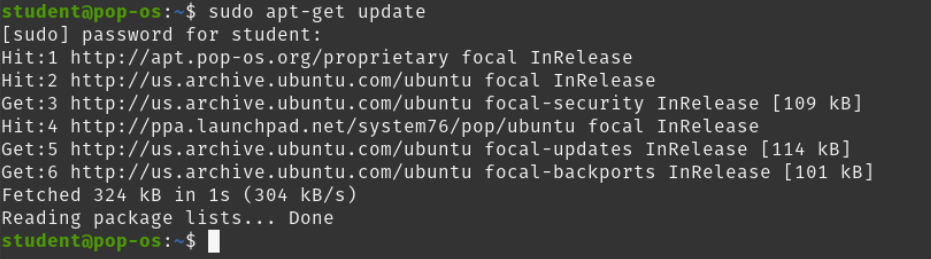
Step 12: Next we will check for updates via the terminal. To do this type:
sudo apt-get update
then enter in your newly created password or cmps3390 if you decided not to change your password in the step above.
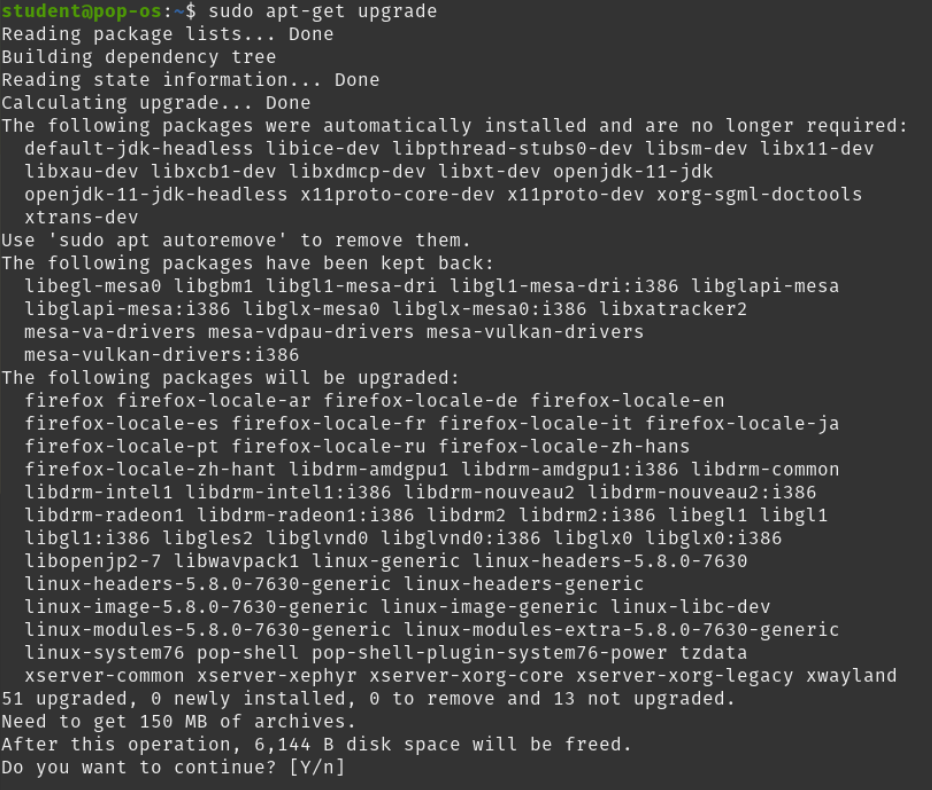
Step 12: Now we will upgrade any packages that had updates by typing:
sudo apt-get upgrade
Notice that we didn’t have to type our sudo password this time. This is because this terminal will remember that we have sudo rights for awhile. If prompted type y to continue.
Step 13: Lets close out these terminals by hitting super_key + q twice. Once you are back at the desktop hit the super_key to bring up the search and type intellij and hit enter. Pop_os was designed to allow quick navigation using primarily the keyboard. To see a full list of the default keyboard shortcuts visit their website.

Step 14: IntelliJ is an IDE (Integrated Development Environment). It makes developing code way easier than using a plain text editor or vim. We will use it primarily while developing Java Desktop applications. IntelliJ should have opened to a project (TestJava) I made to test out the Java installation. Once IntelliJ is fully open press the green play button or press shift+F10 to test that Java is working. You should see output on the bottom that says Hello CMPS3390 and “Process finished with exit code 0” if all worked correctly.

Step 15: Lets test JavaFX next. JavaFX is what we will use to create GUI (graphical user interface) applications. Go to File in the menu and hit close project. You should see two projects I created for testing. TestJava, the one we just tested and TestJavaFX the one we are going to test next. Click TestJavaFX to load that project. You should see a project much like the first except the code should read:
package sample;

import javafx.application.Application;
import javafx.fxml.FXMLLoader;
import javafx.scene.Parent;
import javafx.scene.Scene;
import javafx.stage.Stage;

public class Main extends Application{

    @Override
    public void start(Stage primaryStage) throws Exception{
        Parent root = FMXLLoader.load(getClass().getResource(name:"Sample.fxml"));
        primaryStage.setTitle("Hello JavaFX");
        primaryStage.setScene(new Scene(root, v:300, v1:275));
        primaryStage.show();
    }


    public static void main(String[] args) { launch(args); }
}
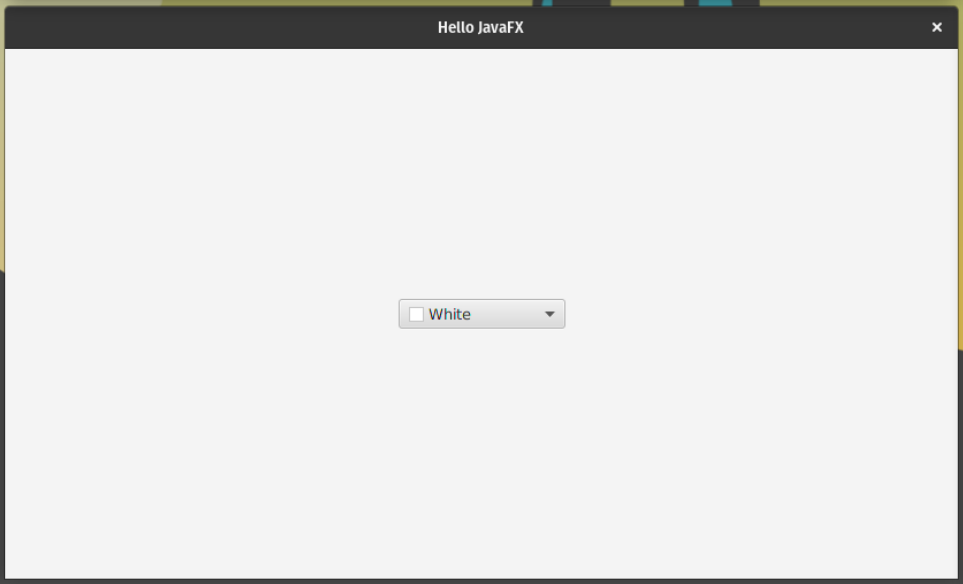
Again to test this project click the green play arrow or press shift+F10. If all works correctly another window should show up next to IntelliJ with a color picker. Play with the color picker choosing different colors to see their HEX values.
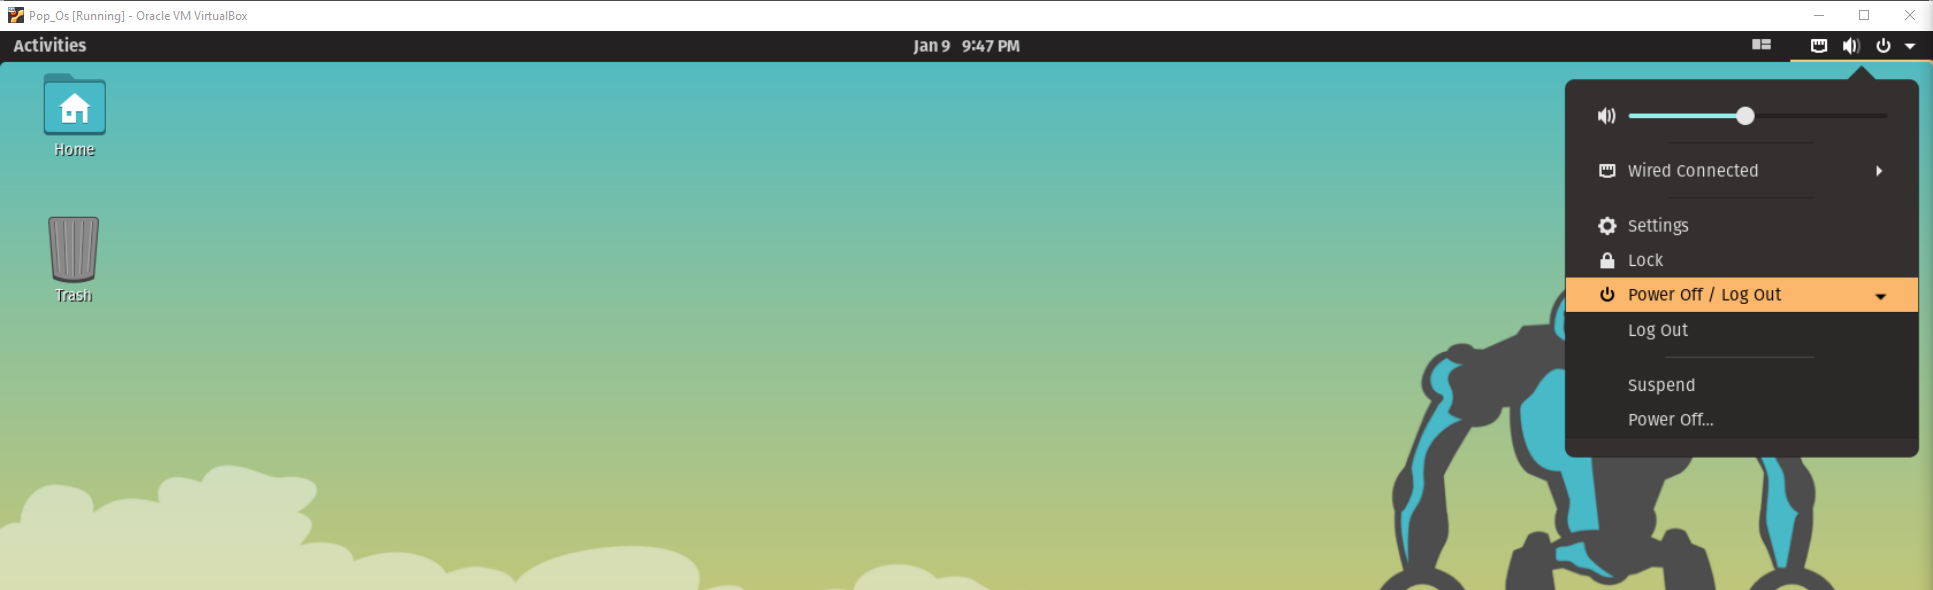
Step 16: Go ahead and power off your Pop_os VM by using the power button in the top right.
Now lets download the Android VM here.
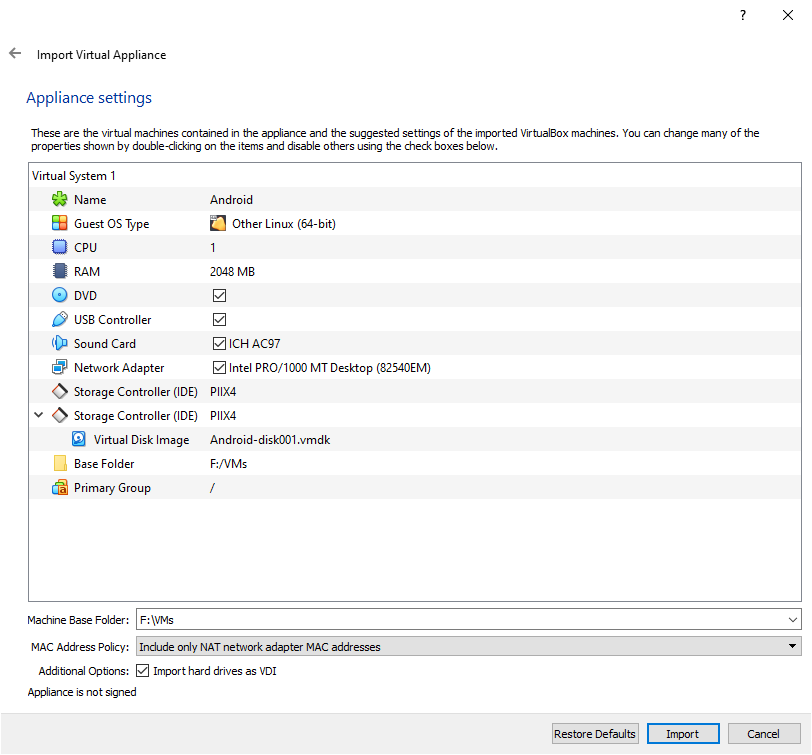
Step 17: Once the download is complete return to the main screen of VirtualBox and click tools, then import, then select the downloaded Android.ova file. Finally click Next.

Step 18: Choose your desired “Machine Base Folder” leaving all other options alone and click import.
Step 19: Once the import is complete you should see both your VMs on the left. Click Android and then click Start.

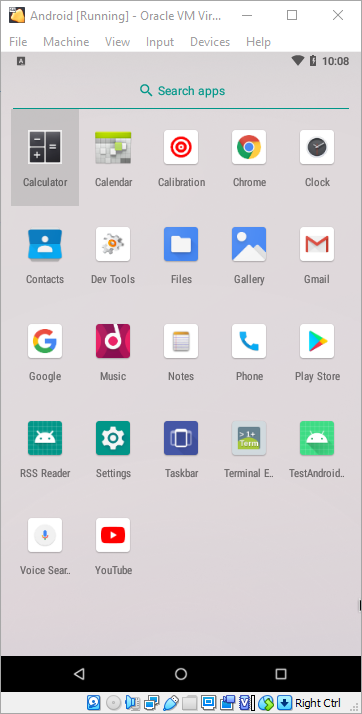
Step 20: This is a fully functioning Android os running inside your host system! We will need the ip address of the Android VM to deploy apps to it from Android Studio. Click the little up arrow near the bottom of the screen to bring up the app drawer.
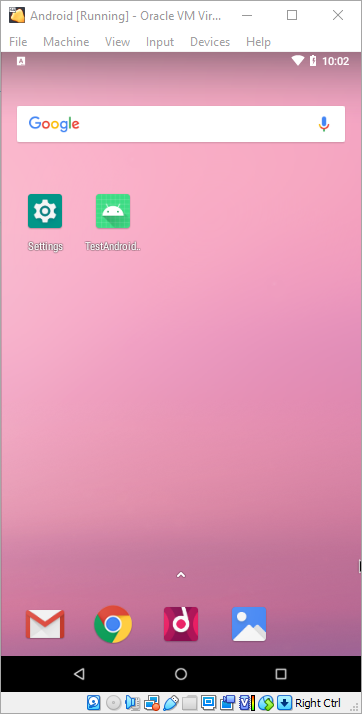 ...........
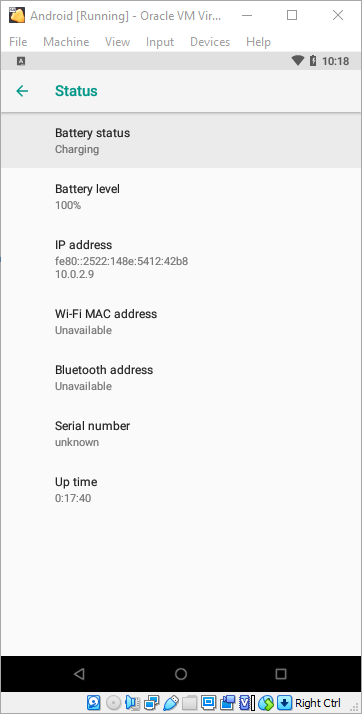
Step 21: Click on settings and search Status in the search bar, click the one that says “System > About tablet > Status. There you will find the IP for the Android VM. Mine is 10.0.2.9, write yours down for use in the next steps.
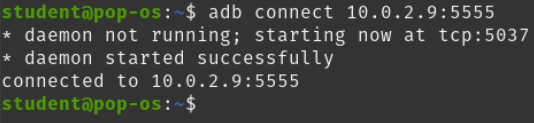
Step 22: Leave the Android VM up and running and start the Pop_os VM. Open a terminal and type the following:
adb connect AndroidIP:5555
For me I would type:
adb connect 10.0.2.9:5555
since that is the IP we found in step 21. If it works successfully you will see output like this:
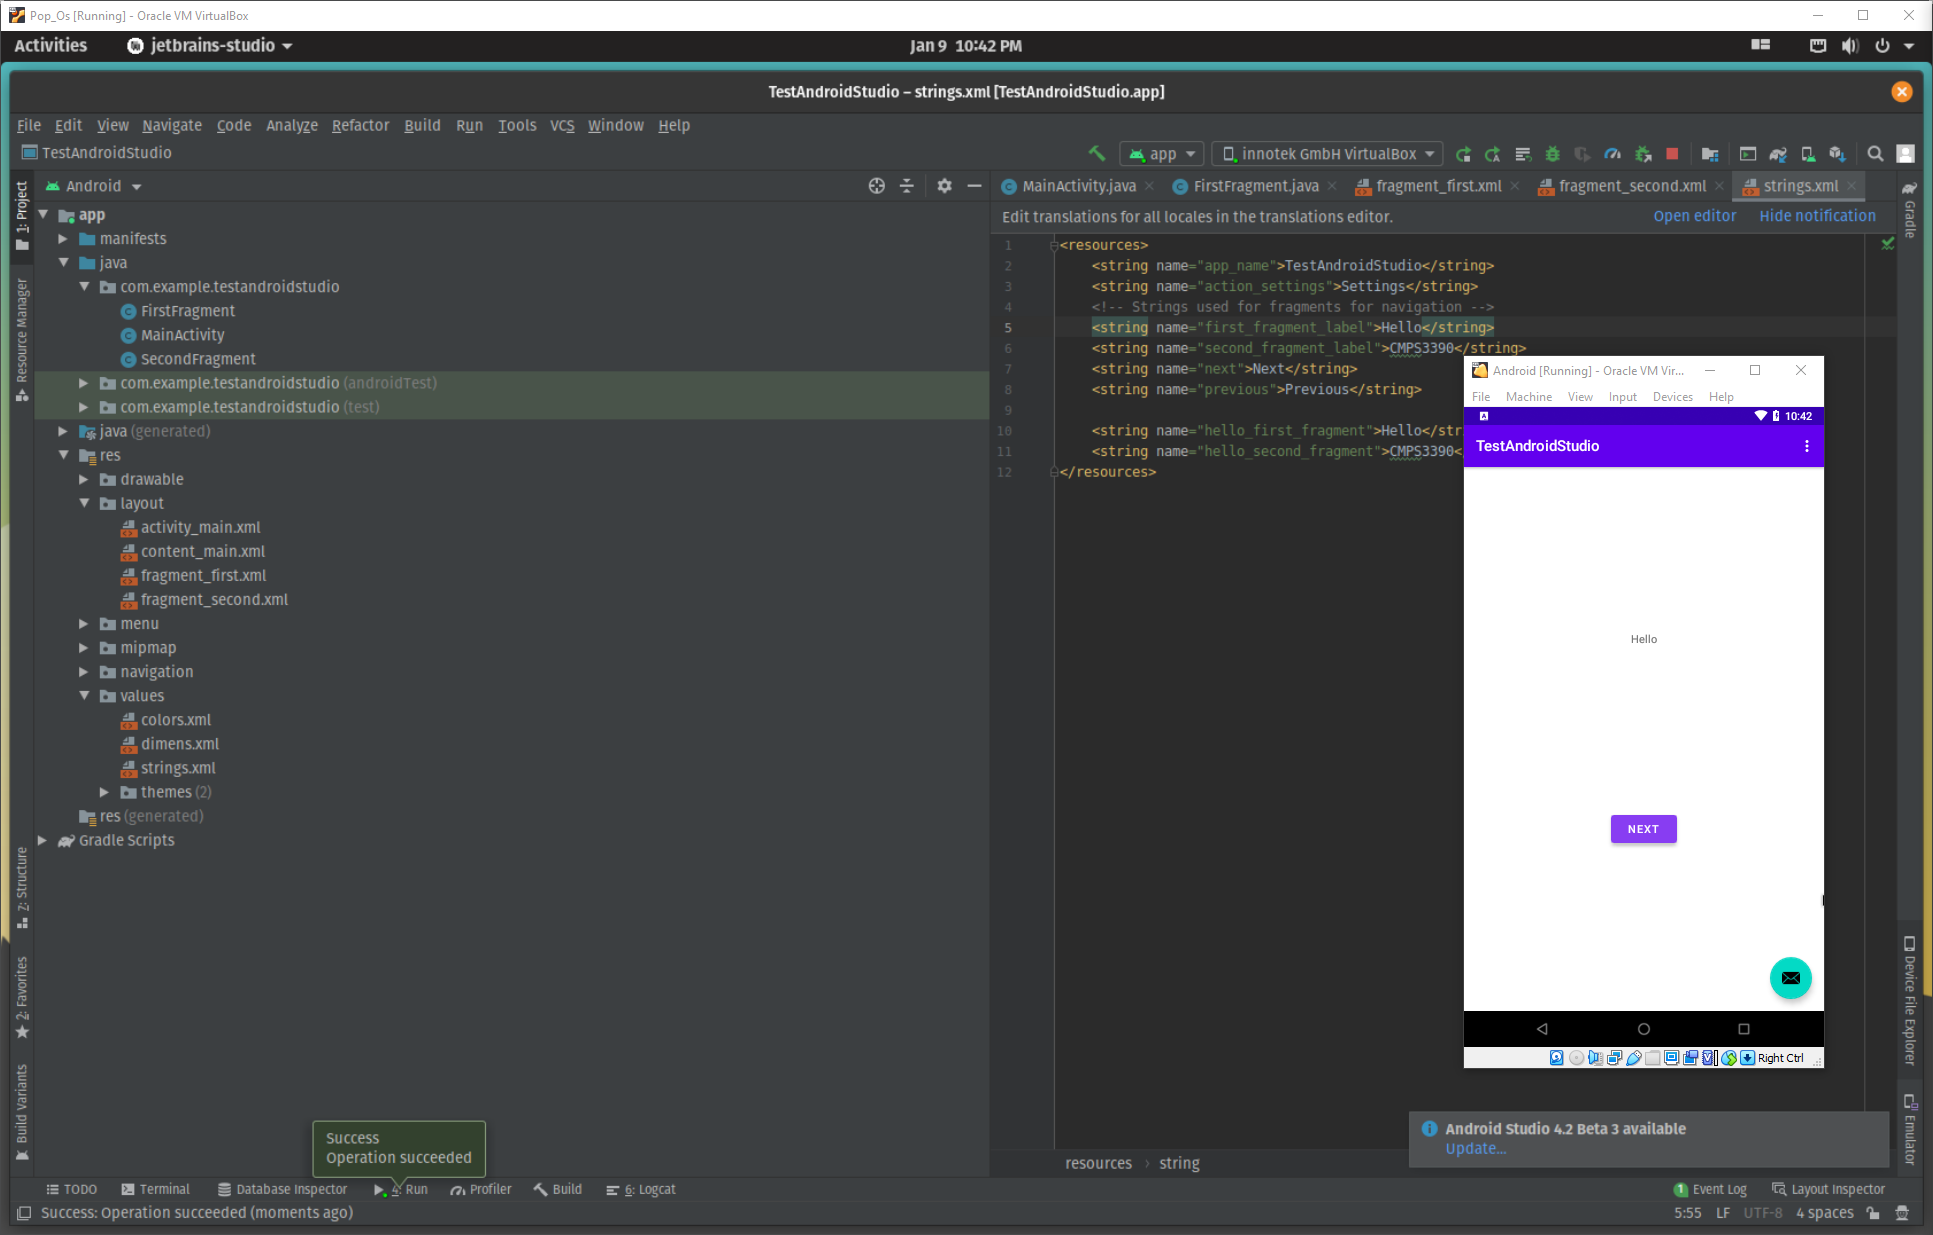
Step 23: Close the terminal (super_key + q) in Pop_os and hit the super_key and type android studio and open it. Android Studio should look very familiar since it is build on the IntelliJ platform. Android Studio should open to the project I made “TestAndroidStudio”. Once it is fully loaded it should look like this DO NOT UPDATE ADROID STUDIO!:

Step 24: In the top bar you should see a hammer icon, app, innotek GmbH VirtualBox, and the play button. It should look like this:

Now with the Android VM and Pop_os VM visible (if possible) click the play button and after a bit of build you should see the Android VM launch the test app. It should look like this:
Whew!!!
That was a ton of work but if you followed along and everything worked you are ready for this course and you have completed assignment 1! See you next week where we dive into the Java language and how it differs from C++.